The cost of living is continuing to rise, there's no doubt about it. It doesn't matter how much some newspaper reporter spiels the most recent government cliche` that it is down, when you shop to feed your family, your wallet tells the truth.
We've had great success in the past months watching our shopping go against the upward trend. We shop once a fortnight and using a series of different method have reduced our grocery bill tremendously, our most recent bill being that of just under $200.00. That's for a family of five good, healthy eaters and includes every thing from toilet paper, eggs to flour and yeast and produce.
We have simply changed the way we shop. No, you can't escape the supermarket for certain things, especially in a regional town. But what has saved the money is shopping at the markets and road side stalls. Good fresh and local produce and less than half the price and that lasts. The vegetable garden is another plus in the equation, and it will serve a bigger saving as the garden comes into full swing.
You can easily save a quid on groceries of you think outside the box. But using markets, road side vendors and growing your own not only save money, they save waste. You've heard of the supermarkets catch cry the fresh food people, or straight from the paddock to you, umm well you'd have to be fool to believe it.
We also save on our meat, by going to our local butcher and buying a bulk family pack and bagging it into the freezer. A $95.00 bulk pack and some extras makes about $140 worth of meat last nigh on three months. A little money gets put away per fortnight to cover the next purchase. Again good quality meat, not 'supermarket fresh'.
Society today has been hornswaggled into buying as you need. I don't know how many of my friends buy for dinner on the way home, costing them a fortune when added up. The supermarkets depend on this kind of market, and the cold room stored or imported produce they supply reflects this, you would know yourself how long it lasts in the fridge.
By some simple budgetary measures, shopping wisely and thinking outside the square you can save a motza on you shopping bill.
Baking your own goodies is another cheaper, and much healthier option for saving dollars.
Yes, the changes may take a little more time and effort, but are worth it. You don't have to drive all over the place costing a fortune in petrol if you apply a little pre-planning forethought.
So give it a try and go against the trend.
Saturday, 15 June 2013
Monday, 13 May 2013
HOME BREWING....mmmm - GOTTA LOVE THAT
I have been home brewing on an off for that past 20 years, and absolutely love it and up until recently I have always used a tin mix, and occasionally partially mashed. But now I have grown up and become a big boy, and have recently gone to a full mashing system.
I always stuck to tins because that was all I knew, and there's no complaint about the results. I have always shied away from a full mash system because of two reasons, cost and effort. It always seems to far out of my reach. But now with a Brew In A Bag system, cost and effort are minimalised.
Some years ago I used to make a variety of flavours, ranging from a draught to a stout, but now I have simply stuck to what I like...an Amber Ale. An amber is a middle of the road, medium bodied brew that I like. And that's why I brew, I simply want an everyday beer that I like. Its not about pleasing the multitudes or winning medals, as long as I have a beer that has the flavour that I want, I'm happy.
Unfortunately this has changed a little with the new system (call it curiosity), I have found that I want to expand my horizons once again. So some more recipes are on the cards as soon as I have gotten the new system down pat.
To help me accomplish this I have purchased and downloaded a brewing program called BrewSmith. It enables you to pick your grains, hops and specialty touches and gives you some idea of the finished product, even a photo of the finished colour, gotta love that.
So whilst I will plod along for a little longer getting used to the new processes, to eventually expand from the Amber Ale and include in my line up, a Pilsener, a Brown and a Red Bitter (an Irish Red crossed with and Australian Bitter). This will be down the track a little way, but I'll get there.
As far as flavour goes, you can't beat home brew. Yeah, I know, "Someone had some once and it tasted awful, or the bottles blow up". I never said that someone can't make a horrendous batch, but if the steps are followed through properly, I find it hardly unlikely that a batch would turn out bad.
The simple steps are -
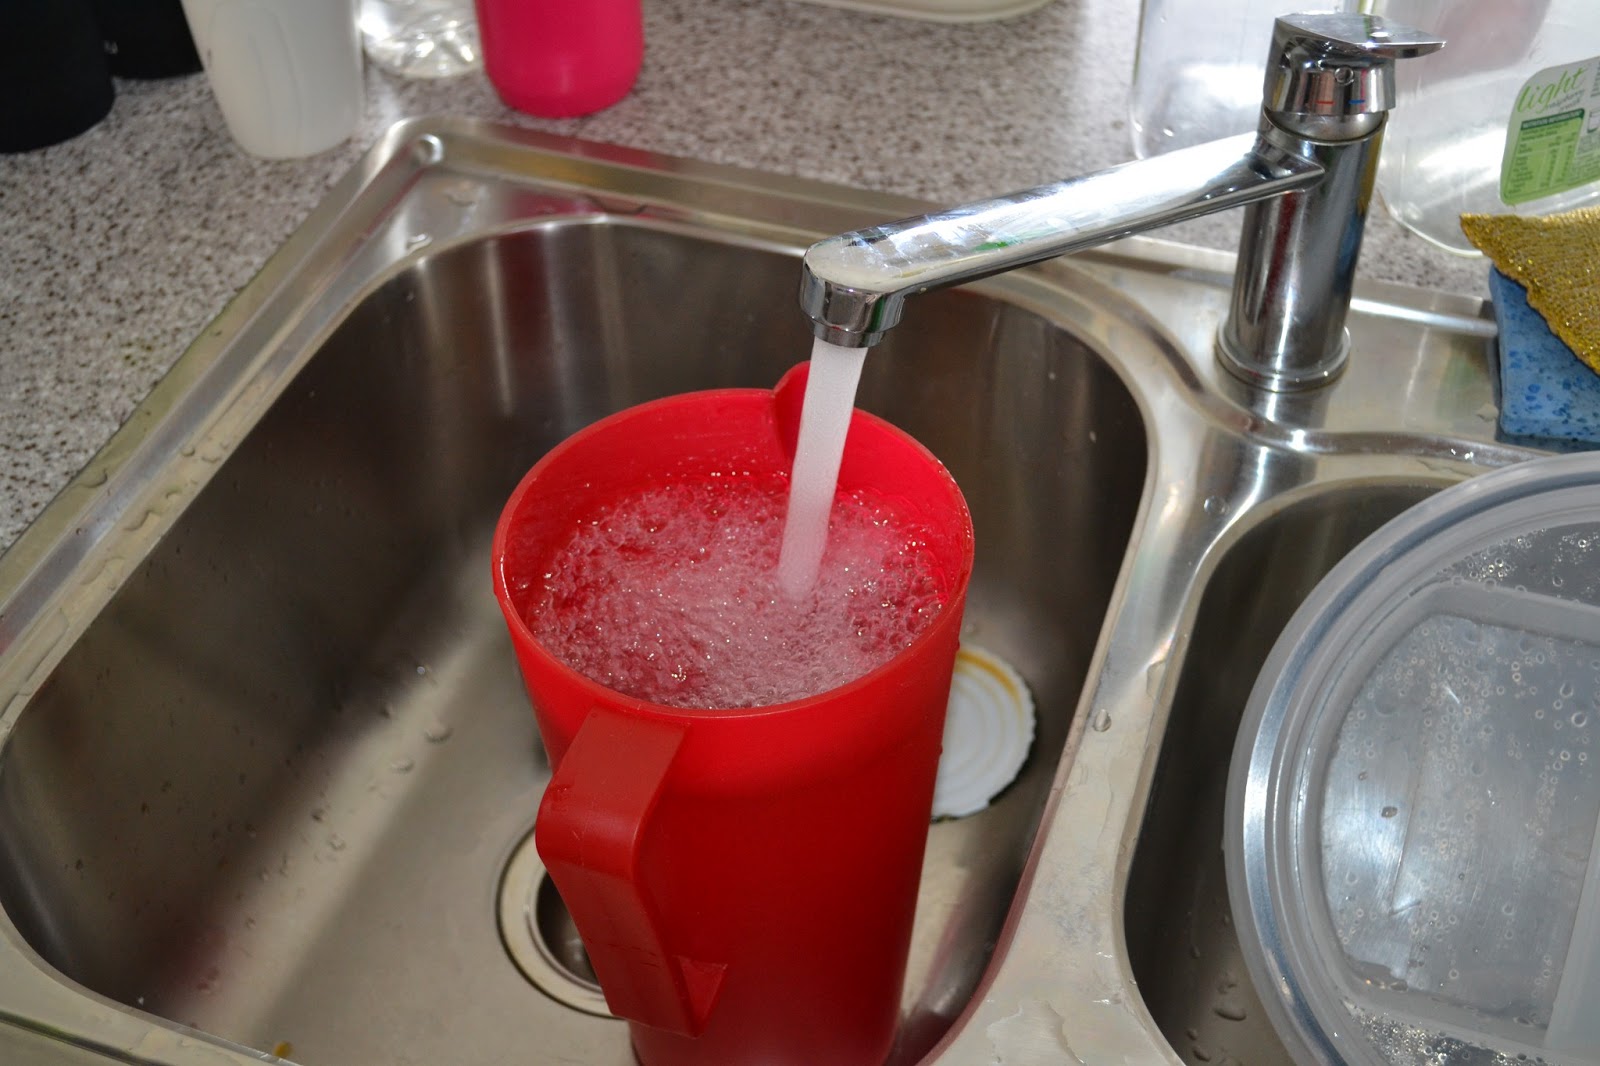
- Make sure everything is clean. You've heard the old saying, "Cleanliness is next to godliness", well with home brew, "Cleanliness is godliness". Everything that touches the wort (brew) must be clean and sanatised. If not, it opens a door for bacteria to grow, and you don't want that.
- Keep your temperature even. I know that this can be difficult, but it aids so much to a better quality beer. Brews that reach higher temps can get that home brew taste. An ideal temp is around the 18-20 for ales, under 15*C for Lagers.
- Let the wort finish fermenting completely and do not over prime your bottles. These two factors are the main reason why bottles explode. You can check on fermentation by using a hydrometer to check your gravity. This will determine how much sugar has been converted into alcohol. If you're not sure how to use one, another easy way is if the airlock has stopped bubbling completely. I use a snake shaped one and when the water level evens out....you're done. Over priming is putting too much sugar in the bottles to carbonate. Be very precise with this, 1 tsp for stubbies (375ml), 2 tsp for long necks (750ml). You can take the guess work out simply by using carbonation drops.
- Be reasonably methodical. Set up a system that works for you and stick to it. You don't want to get through it all and then realise you have forgotten something.
- Use good quality products. Don't but cheap generic kits. The same with yeasts, although yeasts that come with tin kitsares adequate, there is a far better variety out there that does the job so much better. A lot of kit yeasts have a working temperature range of about 18*C - 30*C and will usually work for a period of around five days. Better quality yeast that you purchase separately have a working temperature range of about 16*C - 24*C. Better quality yeasts will work longer than kit yeasts, anywhere from seven to fourteen days. The brew that I am bottling has worked for over three weeks. The longer the better in my view.
- If brewing form a kit try adding some extra malt extracts, corn syrup extracts or some finishing hops (I'm a sucker for Fuggles, Kent Golding or Cascade hops), it really just puts a great edge on your beer. I was making a satisfying amber ale from a tin of Dry Blonde, Liquid Light Malt (instead of dextrose), a little Dark Malt and some Corn Syrup Extract (this helps with creaminess and head retention).
- Don't stress, take your time and relax. After all its a hobby that you do for the enjoyment. Don't brew for alcohol, brew for flavour.
Using a tin kit -
 |
| The Ingredients |
 |
| Weighing out the Malts and Corn syrup |
 | ||
Into the fermenter
|

 |
| Mix Wort from tin and sugars with some boiling water |
 |
| Stir until well dissolved |
 |
| Adding the Liquid Light Malt |
 |
| Stir |
 |
| Top up with cold water |

 |
| Re-hydrate the yeast |
 |
| Drawing the finishing hops from an infusion bag |
 |
| Yeast and hops added |
Using a full mash Brew in a Bag system -
 |
| The equipment - 50lt boiler, gas burner |
 |
| Bringing water up to steeping temperature |
 |
| Using thermometer to check temp |
 |
| After steeping temp is reached turn off heat and add the bag |
 |
| Adding the grain for steeping. Steeping draws the sugar from the grain |
 |
| Checking steeping temp |
 |
| Wrap up to hold temp during steeping, 60 mins |
 |
| After steeping |
 |
| Draining the bag |
 |
| Rough homemade hanger does the job |
 |
| Bring to the boil and remove protein |
 |
| Removing the protein |
 |
| First hops addition |
 |
| Keep the boil going for 60 mins |
 |
| Boiling off will reduce water level. In this case reducing from 36 lt to 23 lt |
 |
| Second hops addition towards the end |
 |
| Whirlpooling helps settle protein in center of boiler, let sit for 10 mins |
 |
| Drain wort from boiler to cooling cube |
 |
| Let cool, add to fermenter with yeast and all done |
Although the Brew in the Bag system takes a little longer, it is a far superior finish. I heard said once that once you start this method, you'll never go back. I can can confirm this, it is very true.
After all is said and done, I produced many a good beer from kits, with just some little additions highlighting the flavours I was after.
It is inexpensive, between $10 - $15 per carton for a premium quality of beer. I suggest that if you are interested in starting home brewing, find a local home brew store and go there. You will not save that many dollars on products at the supermarket compared to a specialty store, but you will have improved advice and service, and the range is outstanding.
I hope that you decide to try this, once you start you will find it hard to buy commercial beer again.
Cheers....
Sunday, 12 May 2013
HOME MADE BREAD

The one thing I have always loved to do is make my own bread. Its simple, cost effective and you know what is going into it.
Sure you can buy a loaf from the supermarket, their generic brands, that cost $0.99. But what is in it? What chemicals, what preservatives?
If you want something that is more to your preference, then there's the local bakery. But bread here costs you anywhere from $3.50 upwards.
But making your own is easy, and will only set you back well and truly under $1.50, and a little effort. It contains a lot less sodium, a lot less sugar, and whole lot more less fat, and tastes great.
I make my own using organic wholemeal bakers flour that I get from a specialty store, and with taking into account yeast, bread improver and electricity, I still wouldn't pay around the $1.70 mark, and that's a generous assumption.
Plus, did I say, you know what goes into it....
Here's my recipe and it can be done with white flour, its just a matter of your choice.

Ingredients -
500gm Wholemeal flour
250ml Water luke warm
7gm Good quality yeast
10gm Good quality bread improver
1 - 2 tsp salt, according to taste
2 tbls extra virgin olive oil
3 tsp raw sugar (again, this can be adjusted to preferred taste, and white is fine)
Method -
1. Add yeast, 1 tsp sugar and approx 1/3 of the water into a small jug. Swirl around, then cover with cling wrap and set aside in a warm area. (this hydrates the yeast and gives it a kick start. The yeast will start to froth up within about 10 minutes).
2. Measure out flour into a bowl, (if not bakers flour sift), add the bread improver, the remaining 2 tsp sugar, salt and olive oil. Combine ingredients well.
3. Add yeast and mix. Add remaining water, small amounts at a time. Depending on the flour, you may need less, or more water.
4. When mixed, roll out onto a floured surface and knead for approx 10-20 minutes until dough has formed and has become elastic and smooth. Check mooisture now and add some extra water of needed. You might fond that all is need is for your hands to be wet.
5. Roll into a ball, place into a deep bowl and cover with a clean dry tea towel or clothe. Place bowl in a reasonable warm area free of drafts.
6. When the dough has risen at least doubled in size (anywhere from 40 mins to 2 hrs depending on temp) roll out onto board once more, and punch down by kneading once more for about 10 minutes. (this punches the air out of the dough and allows the yeast to work, proving the dough.
7. Roll out into a shape that will fit in a grease loaf tin, or shape the loaf how you desire i.e cob loaf, vienna loaf onto a flat greased tray, cover once more and set aside in a warm, draft free area, and allow it to rise.
8. Once risen, again at least doubled in size, place in hot oven approx 200*C for 30 minutes, or until golden brown. Tap loaf and if it has a hollow sound, its done.
9. Turn out onto a cooling rack and allow to cool. Slice and enjoy once cooled.
Some helpful hints are -
- Try using a mix master that has a dough hook, you will save yourself so much time and effort. I have a Kenwood Chef, and it is fantastic for this. I can churn out 2 loaves in well under 20 minutes.
- Using bread improver is a must as far as I am concerned, you can't beat it. It aids in the rising, the colour and the lightness of the loaf once cooked. There are many brands that are readily available from the supermarket, Wallaby is one good brand that comes to mind. Health food stores and specialty baking stores sell it as well. I get mine from the specialty store that I get my flour from.
- I have found using bakers flour is the best thing. Its all done, sifted and ready to go, and it usually doesn't cost much more than standard flour....but the results are well worth it.
- Wholemeal flour will take more moisture than white flour. So when using white, just be careful toward the end. If the dough gets too moist, it will rise ok, but it becomes like a soufle, one bang and its flat. Just add remaining water bit by bit and all will be fine.
- Use good quality yeast, this is imperative. You can buy cheap yeast but you'll get what you pay for. Also make sure the yeast is relatively fresh, the fresher the better. Don't be tempted to use a packet that has been shoved up the back of the pantry for the past twelve months.
- My loaf tines are getting old and I'm finding the bread is sticking a little, especially on a cooler day when the dough takes longer to rise. I have begun using some baking paper, mainly along the bottom. Not necessary, I just find it helps.
It is so easy,and with a few good ingredients, you find that you prefer you own over store bought. My kids can't get enough of it and very disappointed if they don't get their fresh home made sandwich for school lunch.
The dough recipe can be used for many a thing, pizza bases, cheese and vegemite or ham, cheese and pineapple scrolls. Its versatile and easy....give it a try.
 |
| Adding yeast into a small jug |
 |
| Add sugar with the yeast to promote a kick start |
 |
| Add warm water |
 |
| Cover with cling wrap and set aside |
 |
| After about 10 minutes it will begin to froth |
 |
| Add flour to a mixing bowl |
 |
| Adding bread improver |
 |
| A generous pinch of salt |
 |
| A good drizzle of olive oil |
 |
| Some sugar |
 |
| Its much easier with a mix master from here on |
 |
| Adding the yeast |
 |
| Away we go |
 |
| It ends up like this |
 |
| Do this... |
 |
| And it will end up like this |
 |
| Punching down again |
 |
| Cover once again |
 |
| And it will start to do this |
 |
| A little basting with some warm water, then in the oven |
 |
| And it comes out lookin' like this |
 |
| Cool, slice and enjoy |
Subscribe to:
Posts (Atom)