Well its that time again. Time to bottle another batch of home brew, and then get prepared for another brewing process.
I have been home brewing on an off for that past 20 years, and absolutely love it and up until recently I have always used a tin mix, and occasionally partially mashed. But now I have grown up and become a big boy, and have recently gone to a full mashing system.
I always stuck to tins because that was all I knew, and there's no complaint about the results. I have always shied away from a full mash system because of two reasons, cost and effort. It always seems to far out of my reach. But now with a Brew In A Bag system, cost and effort are minimalised.
Some years ago I used to make a variety of flavours, ranging from a draught to a stout, but now I have simply stuck to what I like...an Amber Ale. An amber is a middle of the road, medium bodied brew that I like. And that's why I brew, I simply want an everyday beer that I like. Its not about pleasing the multitudes or winning medals, as long as I have a beer that has the flavour that I want, I'm happy.
Unfortunately this has changed a little with the new system (call it curiosity), I have found that I want to expand my horizons once again. So some more recipes are on the cards as soon as I have gotten the new system down pat.
To help me accomplish this I have purchased and downloaded a brewing program called BrewSmith. It enables you to pick your grains, hops and specialty touches and gives you some idea of the finished product, even a photo of the finished colour, gotta love that.
So whilst I will plod along for a little longer getting used to the new processes, to eventually expand from the Amber Ale and include in my line up, a Pilsener, a Brown and a Red Bitter (an Irish Red crossed with and Australian Bitter). This will be down the track a little way, but I'll get there.
As far as flavour goes, you can't beat home brew. Yeah, I know, "Someone had some once and it tasted awful, or the bottles blow up". I never said that someone can't make a horrendous batch, but if the steps are followed through properly, I find it hardly unlikely that a batch would turn out bad.
The simple steps are -
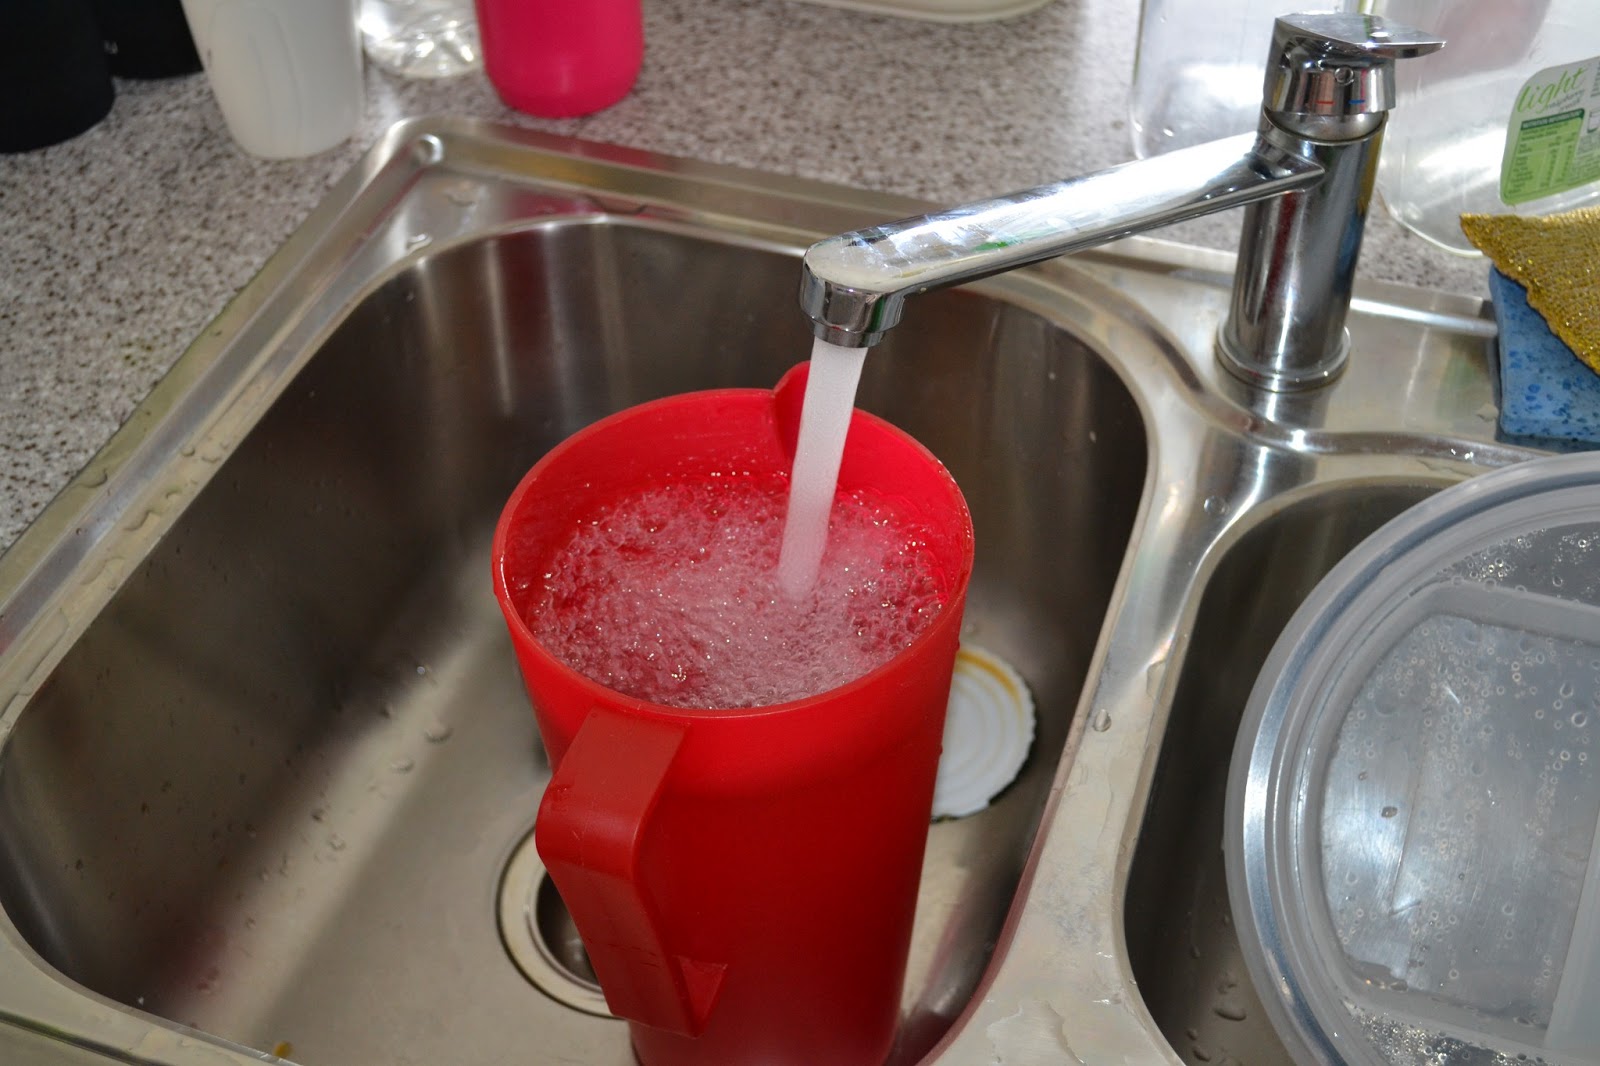
- Make sure everything is clean. You've heard the old saying, "Cleanliness is next to godliness", well with home brew, "Cleanliness is godliness". Everything that touches the wort (brew) must be clean and sanatised. If not, it opens a door for bacteria to grow, and you don't want that.
- Keep your temperature even. I know that this can be difficult, but it aids so much to a better quality beer. Brews that reach higher temps can get that home brew taste. An ideal temp is around the 18-20 for ales, under 15*C for Lagers.
- Let the wort finish fermenting completely and do not over prime your bottles. These two factors are the main reason why bottles explode. You can check on fermentation by using a hydrometer to check your gravity. This will determine how much sugar has been converted into alcohol. If you're not sure how to use one, another easy way is if the airlock has stopped bubbling completely. I use a snake shaped one and when the water level evens out....you're done. Over priming is putting too much sugar in the bottles to carbonate. Be very precise with this, 1 tsp for stubbies (375ml), 2 tsp for long necks (750ml). You can take the guess work out simply by using carbonation drops.
- Be reasonably methodical. Set up a system that works for you and stick to it. You don't want to get through it all and then realise you have forgotten something.
- Use good quality products. Don't but cheap generic kits. The same with yeasts, although yeasts that come with tin kitsares adequate, there is a far better variety out there that does the job so much better. A lot of kit yeasts have a working temperature range of about 18*C - 30*C and will usually work for a period of around five days. Better quality yeast that you purchase separately have a working temperature range of about 16*C - 24*C. Better quality yeasts will work longer than kit yeasts, anywhere from seven to fourteen days. The brew that I am bottling has worked for over three weeks. The longer the better in my view.
- If brewing form a kit try adding some extra malt extracts, corn syrup extracts or some finishing hops (I'm a sucker for Fuggles, Kent Golding or Cascade hops), it really just puts a great edge on your beer. I was making a satisfying amber ale from a tin of Dry Blonde, Liquid Light Malt (instead of dextrose), a little Dark Malt and some Corn Syrup Extract (this helps with creaminess and head retention).
- Don't stress, take your time and relax. After all its a hobby that you do for the enjoyment. Don't brew for alcohol, brew for flavour.
Using a tin kit -
 |
| The Ingredients |
 |
| Weighing out the Malts and Corn syrup |
 |
Into the fermenter
 |
| Adding the tinned wort |
|
 |
| Mix Wort from tin and sugars with some boiling water |
 |
| Stir until well dissolved |
 |
| Adding the Liquid Light Malt |
 |
| Stir |
 |
| Top up with cold water |
 |
| Re-hydrate the yeast |
 |
| Drawing the finishing hops from an infusion bag |
 |
| Yeast and hops added |
Using a full mash Brew in a Bag system -
 |
| The equipment - 50lt boiler, gas burner |
 |
| Bringing water up to steeping temperature |
 |
| Using thermometer to check temp |
 |
| After steeping temp is reached turn off heat and add the bag |
 |
| Adding the grain for steeping. Steeping draws the sugar from the grain |
 |
| Checking steeping temp |
 |
| Wrap up to hold temp during steeping, 60 mins |
 |
| After steeping |
 |
| Draining the bag |
 |
| Rough homemade hanger does the job |
 |
| Bring to the boil and remove protein |
 |
| Removing the protein |
 |
| First hops addition |
 |
| Keep the boil going for 60 mins |
 |
| Boiling off will reduce water level. In this case reducing from 36 lt to 23 lt |
 |
| Second hops addition towards the end |
 |
| Whirlpooling helps settle protein in center of boiler, let sit for 10 mins |
 |
| Drain wort from boiler to cooling cube |
 |
| Let cool, add to fermenter with yeast and all done |
With the full mash system all the sugars and bitterness are contained within the wort. There is no need to add anything else except the yeast come time to ferment. You can store the wort in the cubes for a very long time, so you can put down a few worts, store and ferment at your leisure.
Although the Brew in the Bag system takes a little longer, it is a far superior finish. I heard said once that once you start this method, you'll never go back. I can can confirm this, it is very true.
After all is said and done, I produced many a good beer from kits, with just some little additions highlighting the flavours I was after.
It is inexpensive, between $10 - $15 per carton for a premium quality of beer. I suggest that if you are interested in starting home brewing, find a local home brew store and go there. You will not save that many dollars on products at the supermarket compared to a specialty store, but you will have improved advice and service, and the range is outstanding.
I hope that you decide to try this, once you start you will find it hard to buy commercial beer again.
Cheers....


No comments:
Post a Comment